
Except when I do…
 I rarely use retraction cord for crown preps, as I try to keep my margins equigingival or supragingival. If I need retraction, I’ll usually reach for my Picasso Lite diode laser first. Or, I may use the H&H impression technique (which drives impression material subgingivally without any retraction).
But, there’s one situation that I almost always use retraction cord: Cervical composites.
Why? First, if you’re using magnification and a headlight, you’ll be amazed at the very visible flow of crevicular fluid. You blast it away with the air syringe, and it immediately starts welling up again. That spells inevitable contamination of the bonded composite at the gingival margin, which can lead to early failure. Well-placed retraction cord is an effective dam against the crevicular tsunami.
Secondly, the retraction cord affords good visualization of the restorative margin during the prep, during the placement of the composite, and while finishing. Keep reading and see the case presentation below. It reduces the amount of finishing needed at the gingival margin, too. When you can visualize the margin well, you can carefully adapt your composite material with minimal flash or excess material to be polymerized. That makes for easier and less traumatic finishing and polishing.
Better than “super.” It’s ULTRA!
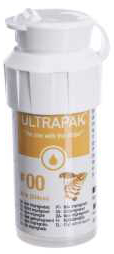
My favorite retraction cord is Ultrapak from Ultradent. Their description of what makes it unique: Ultrapak cord is made of 100% cotton, knitted into thousands of tiny loops to form long, interlocking chains. This unique knitted design exerts a gentle, continuous outward force following placement, as the knitted loops seek to open.
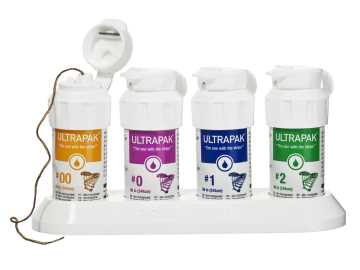
It comes in sizes from #000 (very thin) to #2 (thick). The cap has a handy-dandy cutter built into it.
Ultrapak is very easy to place into the sulcus. Before I began using it, I found that many other types of cord were frustrating to place. Often, as I advanced along the cord, the part that I had already pushed into place would start coming out. I would end up packing the cord in circles, so to speak. Ultrapak stays put.
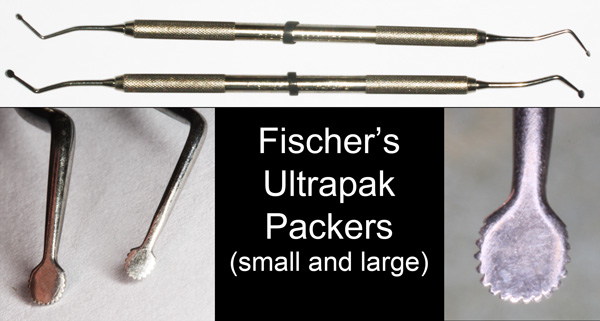
I also highly recommend Ultradent’s special cord-packing instruments – Fischer’s Ultrapak Packers. They have a thin round tip that has serrations. The instruments are double-ended with the “blade” offset at 45-degrees. The serrations grip the knitted Ultrapak cord making it very easy to precisely place it into the sulcus. It’s fantastic. The combination of the Ultrapak cord and Fischer’s Ultrapak Packer makes what used to be extremely tedious much easier and predictable. I use the small one 99% of the time.
Case Presentation
Today’s patient has multiple cervical abfractions that are sensitive and catching food. He travels over 70 miles to see me, so he wanted to get as much done as possible at this visit. We restored #’s 9 – 14 and #20 – 21. When I’m doing multiple adjacent restorations, I find it easy to pack a single long (continuous) cord. I pack the cord before any preparation and leave it there through the initial finishing.
The key is using the right size cord. Ultrapak comes in sizes #000 to #2. I frequently use #0 – #000, with #0 or #00 most often. The smallest is #000. It depends on the tissue “biotype.” If you try to cram in cord that’s too large, it’s frustrating, AND you often end up tearing up the tissue, making matters worse. When in doubt, go smaller.
In this case, I just wet the cord with plain water and give it a “stretch” to make it thinner right before packing it. If you need a hemostatic agent during any bonding-type procedure, use an aluminum chloride based agent (like Ultradent’s Viscostat CLEAR). Do not use a ferric sulfate based agent (like the brown Viscostat). It will cause staining under the restoration, no matter how well you think you have rinsed it off. Use the CLEAR stuff!
If a patient asks what I’m doing, I often say, “This is like putting down masking tape before you paint. It’s a bit tedious, but it makes for a much nicer result.”
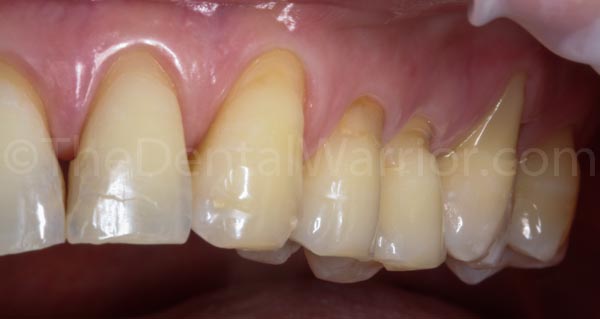
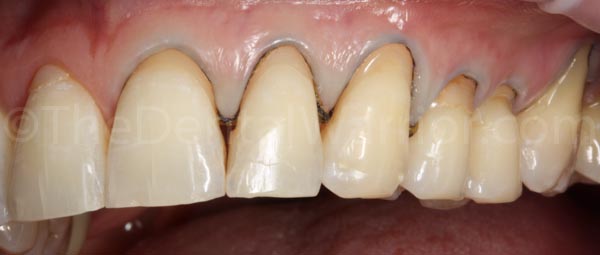
Before treatment.
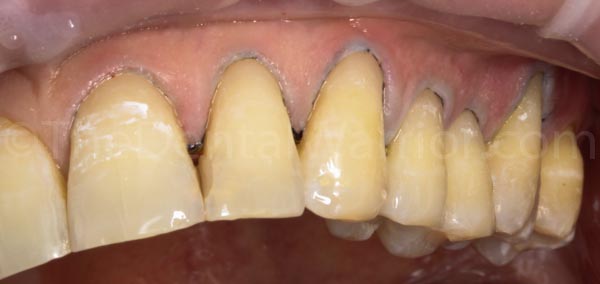
With Ultrapak #00 placed in a single continuous piece before prepping.
Composite restorations placed and initial finishing done with cord still in place.

Cord removed and then final finishing and polishing.
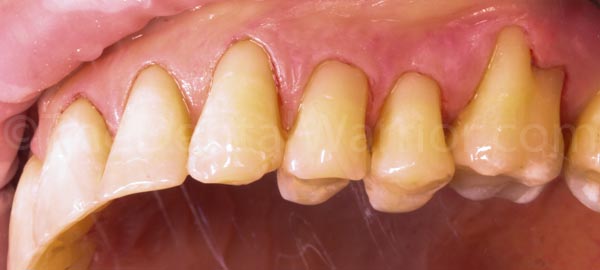
Another view (after).
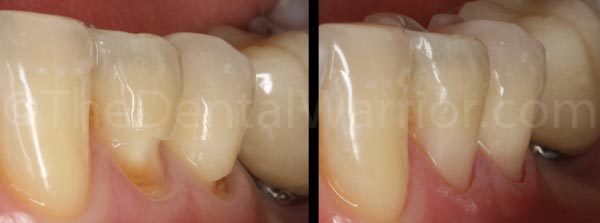
Teeth #s 20-21 before and after. Deep abfractions were trapping food and were sensitive. Note that the tissue is not beat up in the after photo on the right.
Note that the tissues are minimally traumatized. With careful placement of the composite to the easily-visualized gingival margin, finishing with burs is reduced significantly. I should also mention the value of magnification and a headlight in visualization and atraumatic preparation and restoration.
Talkin’ ’bout my isolation
Both the Optragate and Isolite were used simultaneously for isolation. I highly recommend them! With good isolation, you not only control moisture issues, but you also gain excellent access. With this set-up, I was able to “assembly-line” the bonding process (etch all the preps, rinse all the preps, bond all the preps… then build each restoration). It reduces stress, increases efficiency, and increases the quality of the result.
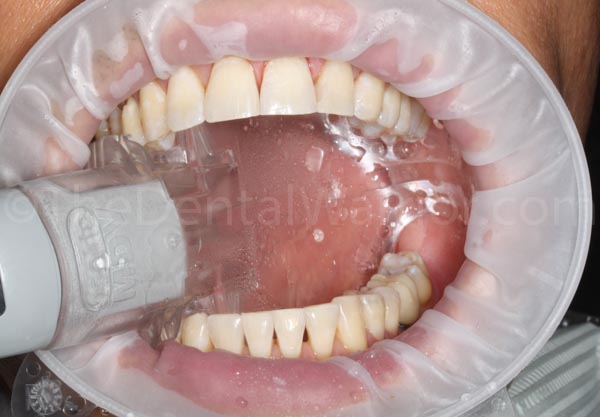
Optragate and Isolite used simultaneously.
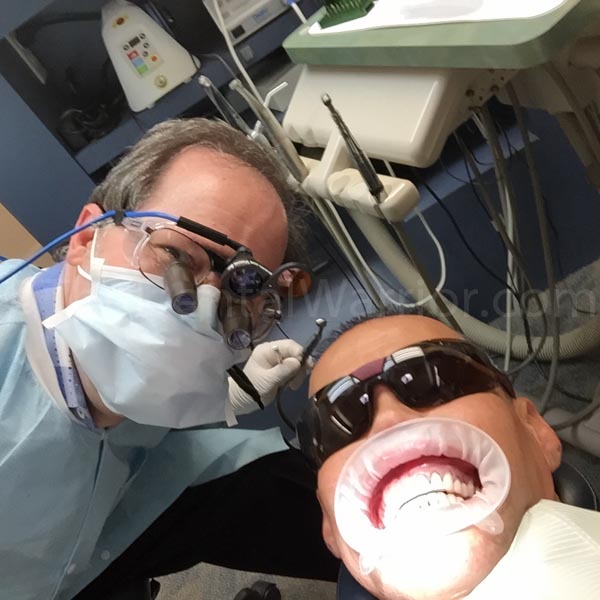
The patient was very happy with the result! We’ll be seeing him next week to do the other side. Here he is in a “selfie” during today’s treatment! Gotta have some fun at the dentist!
Disclaimer: I have no financial interest in any of the products mentioned. I was not compensated for this review. The companies mentioned did not know I’d be writing this review. My only relationship with any of these companies is as a paying customer. My intent is simply to share what I do and what I like using to do it.
 Copyright protected by Digiprove © 2014-2020 The Dental Warrior®
nice case.. Great shade match, what is your tech for matching and did you use any opaque. What composite do you use?
Thx
Hi Sean. Thanks for visiting my blog and commenting.
I used Filtek Supreme Ultra. Didn’t use any opaque material in this case. I usually just eyeball it (26 years of experience) and / or use a standard Vita shade guide. I will use the dentin, body, or enamel shades depending on the optical properties of the surrounding tooth structure. In this case, I used body shades (might have been better with dentin shade)… A3 for the premolars and molars… A2 for the canine… and A1 for the lateral and central.
Mike,
Nice case!
Over the years I’ve had to bring on new (experienced) assistants. In the first few days they always comment about how good my composites look at the gum line and how there is no blood since I use cord on those lesions.
There is a place for cord in dentistry!
Disclaimer: I do CEREC crowns and use a diode laser, when necessary.
Hi Bob!
Yep. It makes a big difference with most cervical restorations. I tell my patients it’s like using masking tape before painting. 🙂
Hello!
what do you think about retraction pastes?
Have you tried any?
Hi Elena,
I think they work nicely as hemostatic agents, but I’m not impressed (no pun intended) with their claim of actual retraction. And, they’re a bit of work to completely rinse off.
Cord (Ultradent) and (or) diode laser here. Depends on the situation.
Please tell me how you decided on the Piccaso laser? Each time I see them at the NYC Dental convention they have a booth but their lasers are merely on display and not made available to try out.
I decided on the Picasso Lite based purely on the price… without even trying it. At about $2400, it was a no-brainer for me. I wrote up a review here: Pull the Trigger on a Diode Laser!
Now they come with a wireless foot pedal. Unfortunately, my “old” model cannot be upgraded to the wireless foot pedal.
I’m with you on the retraction cord. Rarely is it necessary if keeping margins at appropriate level and using a extra light Genie PVS wash technique. I also use 4.5 magnification with headlight and a Waterlase. It is a must for my lab to use magnification as well. I have found that retraction cord can easily traumatize the tissues (especially a thin biotype), thus resulting in a marginal defect of recession.