About a month ago, we had a close call with Hurricane Dorian, which was a “Cat 5” and got within 100 miles of us. In the process of putting up my shutters, I smashed the tip of the ring finger on my left hand. It hurt, but I “walked it off” and continued putting up the shutters.
It never turned black and blue, but it just kept hurting, especially if I put pressure on the distal end of the finger. I wrapped it in tape, but that wasn’t stabilizing it very well. I tried a number of finger splints from the drug store. I even got some off Amazon.com. They were all bulky and didn’t fit well. Putting on an exam glove over the splint was difficult.
The first splint I got at a drug store. Got in the way of everything… slipped off a lot.
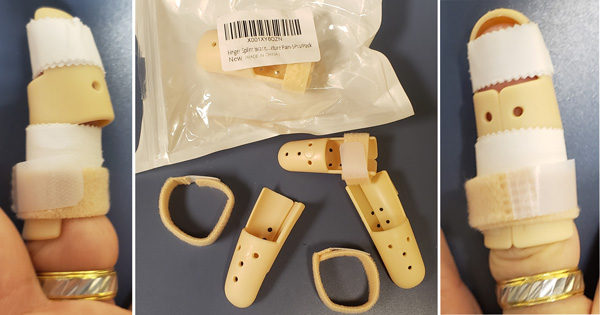
Commercially-available finger splints are bulky, don’t fit well, and limit function.
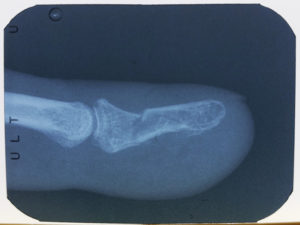
The discomfort (with any pressure) continued, so I took an x-ray. It clearly shows a fracture of the distal phalanx.
This morning I got to the office early and the light bulb (in my head) went on. I could make a custom splint! But, how? With which materials? Acrylic? Bis-acryl? Hold on a sec… what about using clear retainer material? Thin and stiff! OK… here’s a pictorial of how I did it.

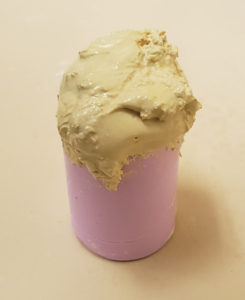
I cut off the top third of an alginate water measuring cup to use as an impression “tray.” I filled it with a VPS alginate substitute and stuck my finger in it.
Then I poured it up in dental stone.
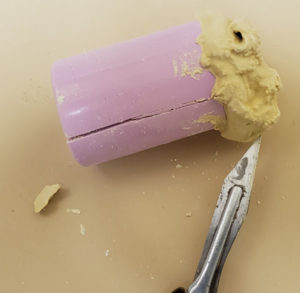
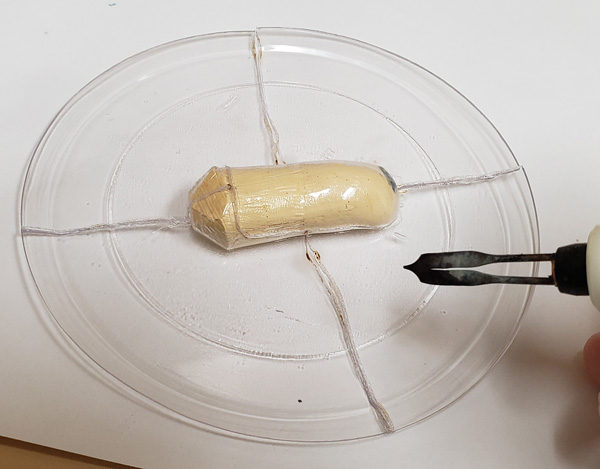
Sliced the impression open and removed the finger model.
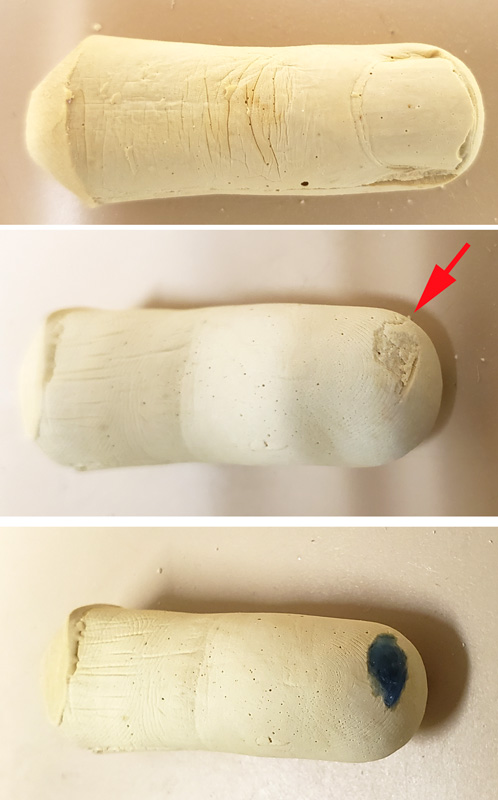
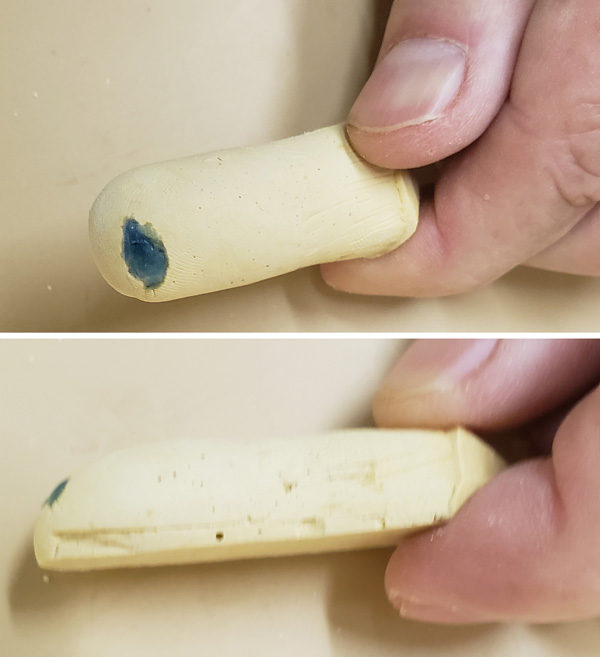
My finger in stone! Had a little void at the end, so I filled it in with blue blockout composite (used for making bleach trays).
Then I used my model trimmer to flatten off the top of the finger so it would lay flat on the pressure forming platform. The splint only needs to wrap around the ventral and lateral sides of the finger (leaving the dorsum open).
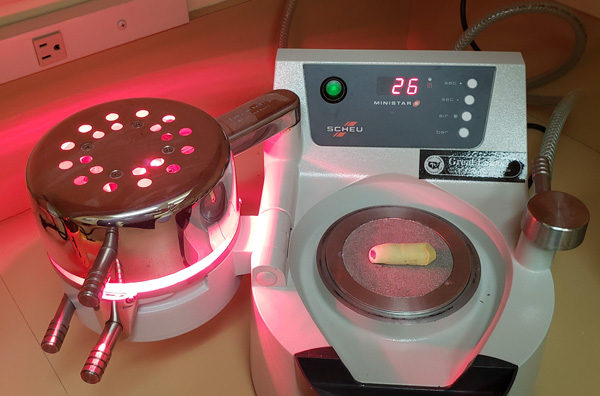
I put the model on the Ministar pressure former and loaded it with 1-mm clear retainer material.
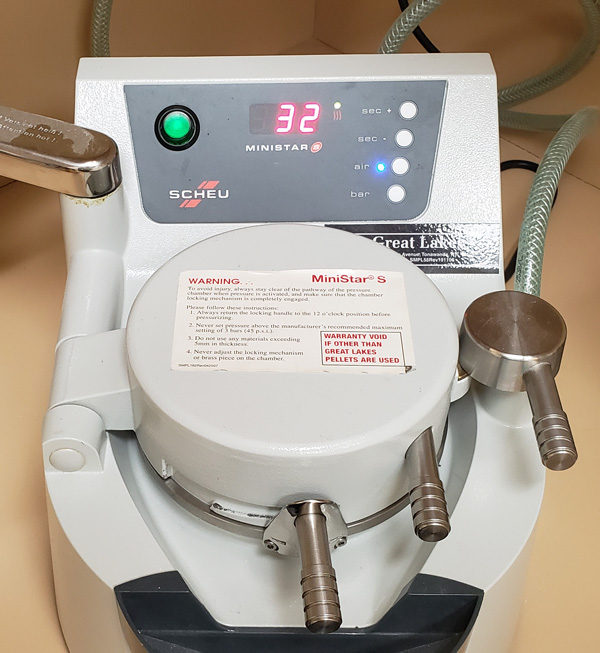
After heating the retainer material for 30 seconds, the lid is closed and pressurized over the model.
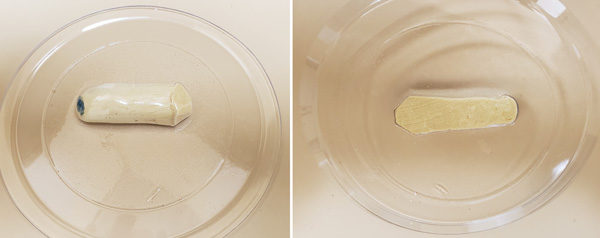
The retainer material is very closely adapted to the model!
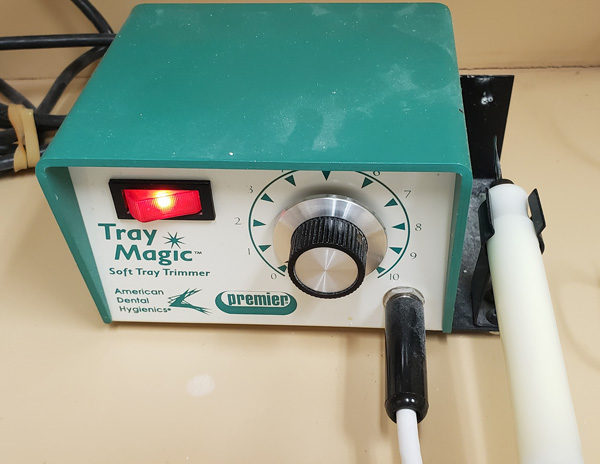
I used my “hot knife” to cut the material around the model to release it.
Cuts made.
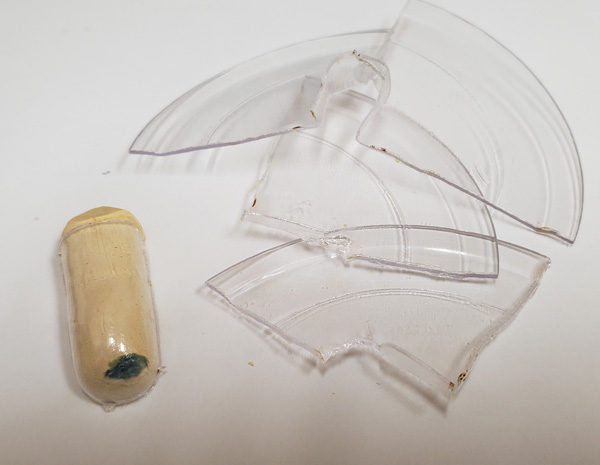
Houston, we have separation.
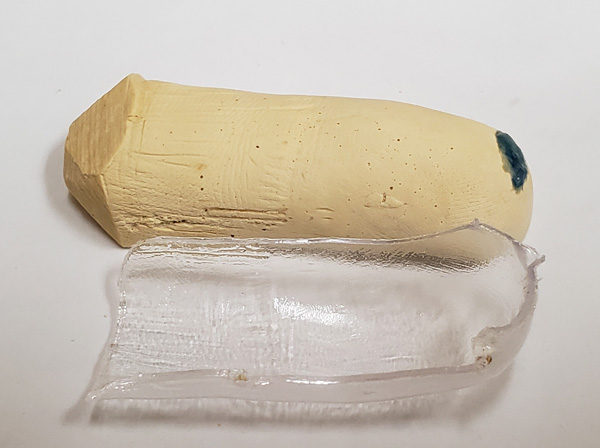
Splint separated from model.
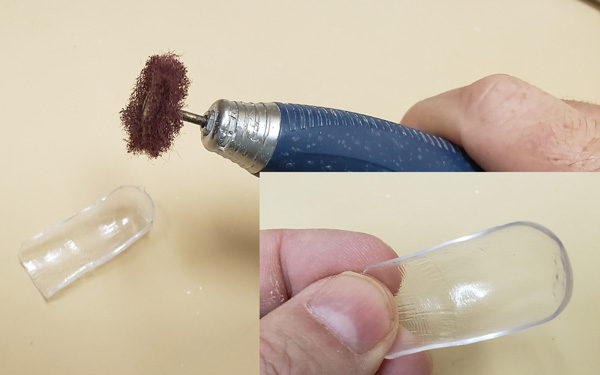
Polished all the edges smooth.
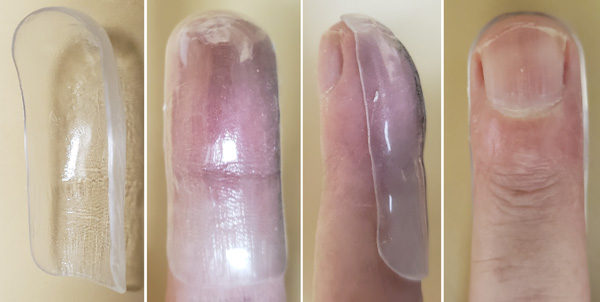
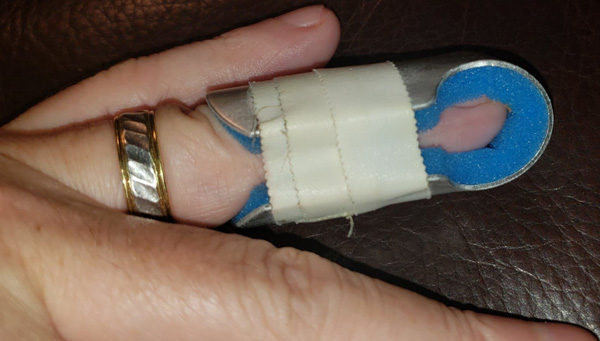
Let’s see how if fits! Perfect!
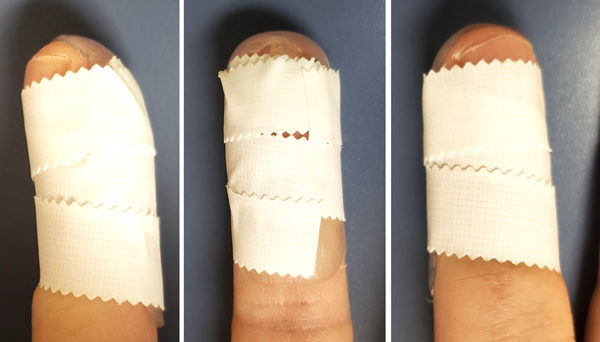
Taped onto my finger. Worked great! It’s stayed on and is relatively unobtrusive in my daily activities.
So… all those years of training, continuing education, and experience have qualified me to do THIS. 😀 Comment below!
 Copyright protected by Digiprove © 2019 The Dental Warrior®
Hi Mike. I used the same technique to make a splint to fix my Peyronie’s problem. But I had to use a tennis ball can to take the impression. Can’t share my photos as they are definitely NSFW! All kidding aside, nice job thinking outside the box. Necessity is the mother of invention. Well done.
LOL! TMI! TMI! 😉
Cool!